WELCOME MY PRETTIES!!! I was out shopping for a Halloween candy bowl the other day and all I was seeing were those "typical" plastic bowl shaped containers. You know, the pumpkin shaped ones or the black bowl with the hand that grabs your hand when you reach in for candy. SO TYPICAL! I wanted to find something that I could display around the house everyday leading up to Halloween. I couldn't find anything I liked at the store so I came home and put on my thinking cap. I walked around the house to see if I could find something to reuse and that's when I came across this boring magazine basket. It was PERFECT. It is just deep enough, it has functional handles for me to hold as the little goblins are picking out their candy and the fact that it is oval also makes it easier for me to attach some accessories to the front.

I headed back to my favorite craft store (JO ANN Fabrics) and I walked the isles searching for something to jump out at me and that's when I saw this headband. How cute is it??? I immediately knew what I wanted to do with it and I was super excited to get started. I went down a couple more isles, grabbed a few more things and then I headed home.

Here are all the things I needed to make this transformation happen....
I picked up this wooden picture frame in hopes of turning it into a chalkboard. That way I can write cute Halloween sayings on it every couple of days and not be tied down to any one phrase. If you didn't know I love using chalkboards and creating my own little masterpieces. FYI... the store bought pre made chalkboards with the unfinished frames are not a good idea because they have the worst finish on them. It's almost impossible to write on them with colored chalk. MAJOR FAIL!

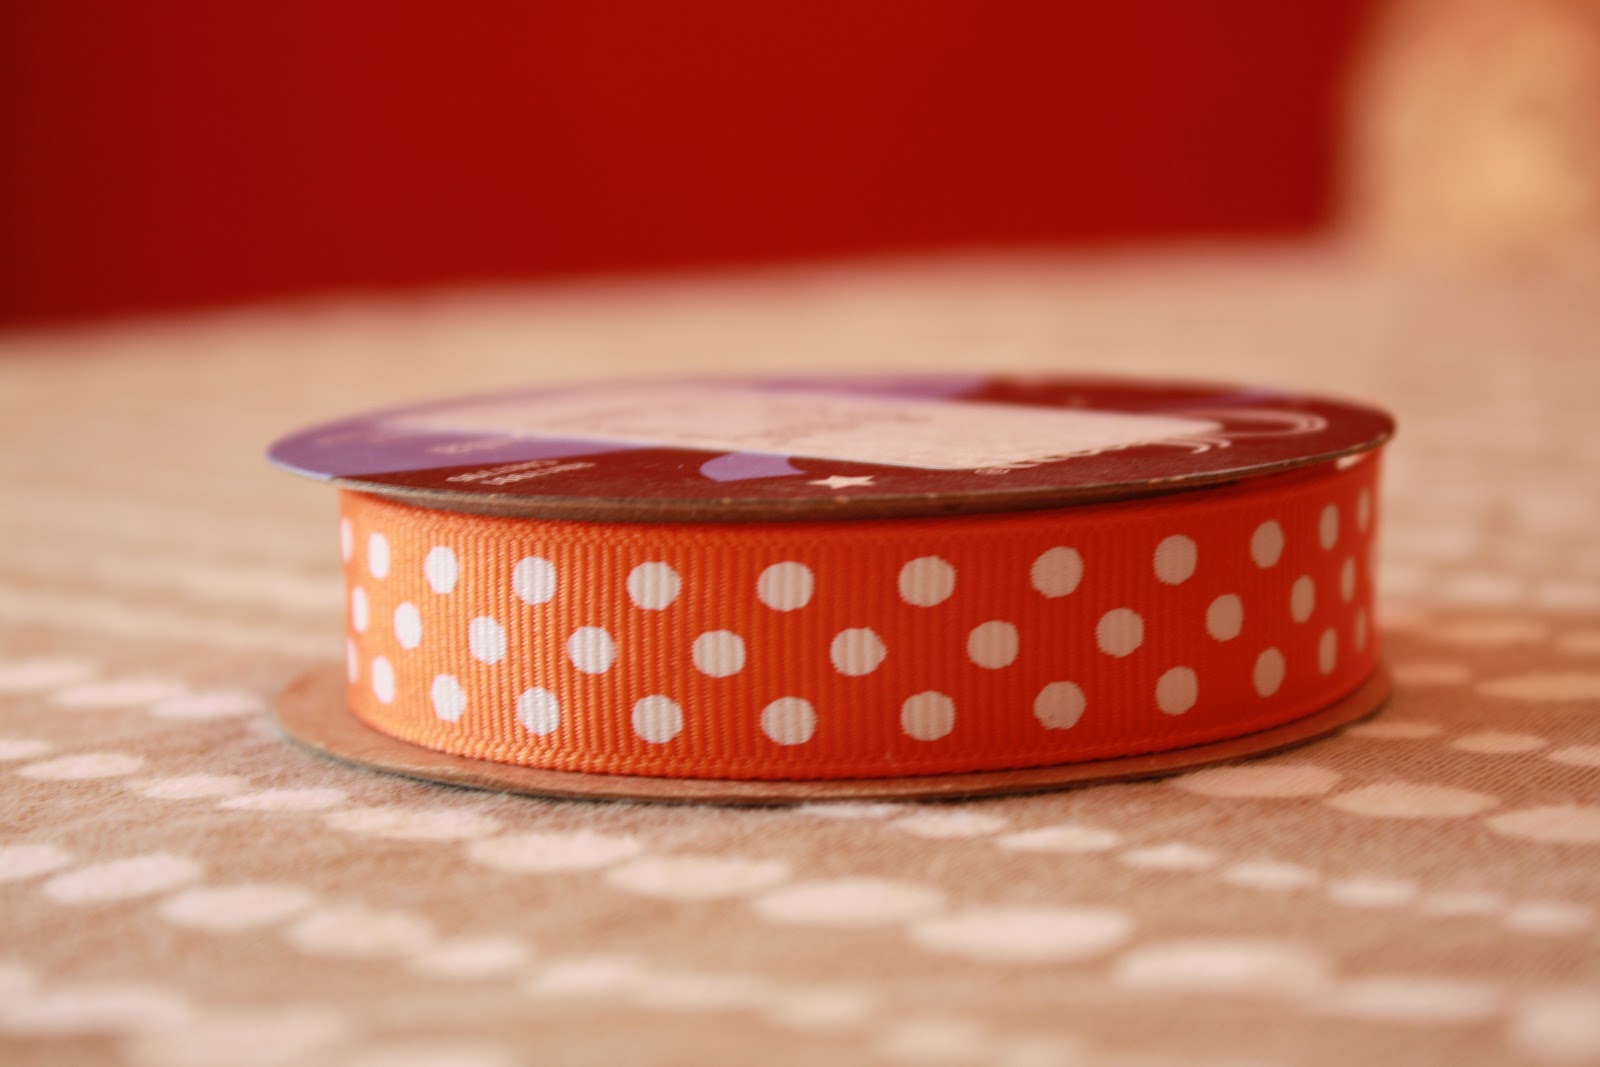
I had some left over ribbon lying around the house and it was just the thing I needed to conceal some of the unfinished edges of this project.
I snatched up this black sparkled fabric for less than $2. YES please, more where that came from!!! I thought it would be perfect to use as a witch's cape.

My favorite kind of paint....

My handy dandy hot pink polka dot hot glue gun....

I specifically picked this frame because I knew the back piece was made of wood and that I could paint it with chalkboard paint. This bad boy is getting a face lift!!! Are you dying to know what color I picked? scroll down to find out....


Yup, I decided to go with a deep purple. I thought it wouldn't be tacky too flashy with the black chalkboard paint.

I used a flat 1/2" artist's paint brush to get 'er done.

Not sure if you noticed my paint surface underneath the frame but it is actually checkered wax paper that I am OBSESSED with. It's perfect for these little craft projects especially when I use paint, glitter, or glue. What I am about to tell you is kind of embarrassing but here I go...I bought this paper after watching Diners, Drive ins, and Dives! I know I am a loser but I love making meals and snacks look just as good as what Guy Fieri gets to dig into on a daily basis. Love that show! I also found these red baskets at HomeGoods and I bought like 10 of them....I told you I am OBSESSED (don't judge). Honestly, they are perfect! I don't have to do any dishes and no paper plates(unless its a meal I need a flat surface for). Clean up is a jif, all I have to do is throw the paper in the trash and stack the baskets back up in the cupboard. Did I mention you can buy the paper in bulk from a restaurant supplier SO CHEAP! Beats the price and the look of paper plates = Love struck fool over here!

I just used a regular paint brush to slap on some chalkboard paint. I would normally use a foam roller to avoid the strokes a paint brush leaves behind but this was such a small project I didn't mind the strokes showing.

In order to create the look of a witch's cape around the basket I cut the fabric to just the right length(to have it drape a little) and then I hot glued it just underneath the trim piece of the basket.

I bunched up the fabric in the front of the basket to make it look like a flowy cape.

I used my hot glue gun again to attach the headband to the back of the basket, like so.....

Let's take a quick break and see who my partner in crime was for this project....

I picked up a second frame for Anna so she could make her own little Halloween chalkboard to decorate for her new house.

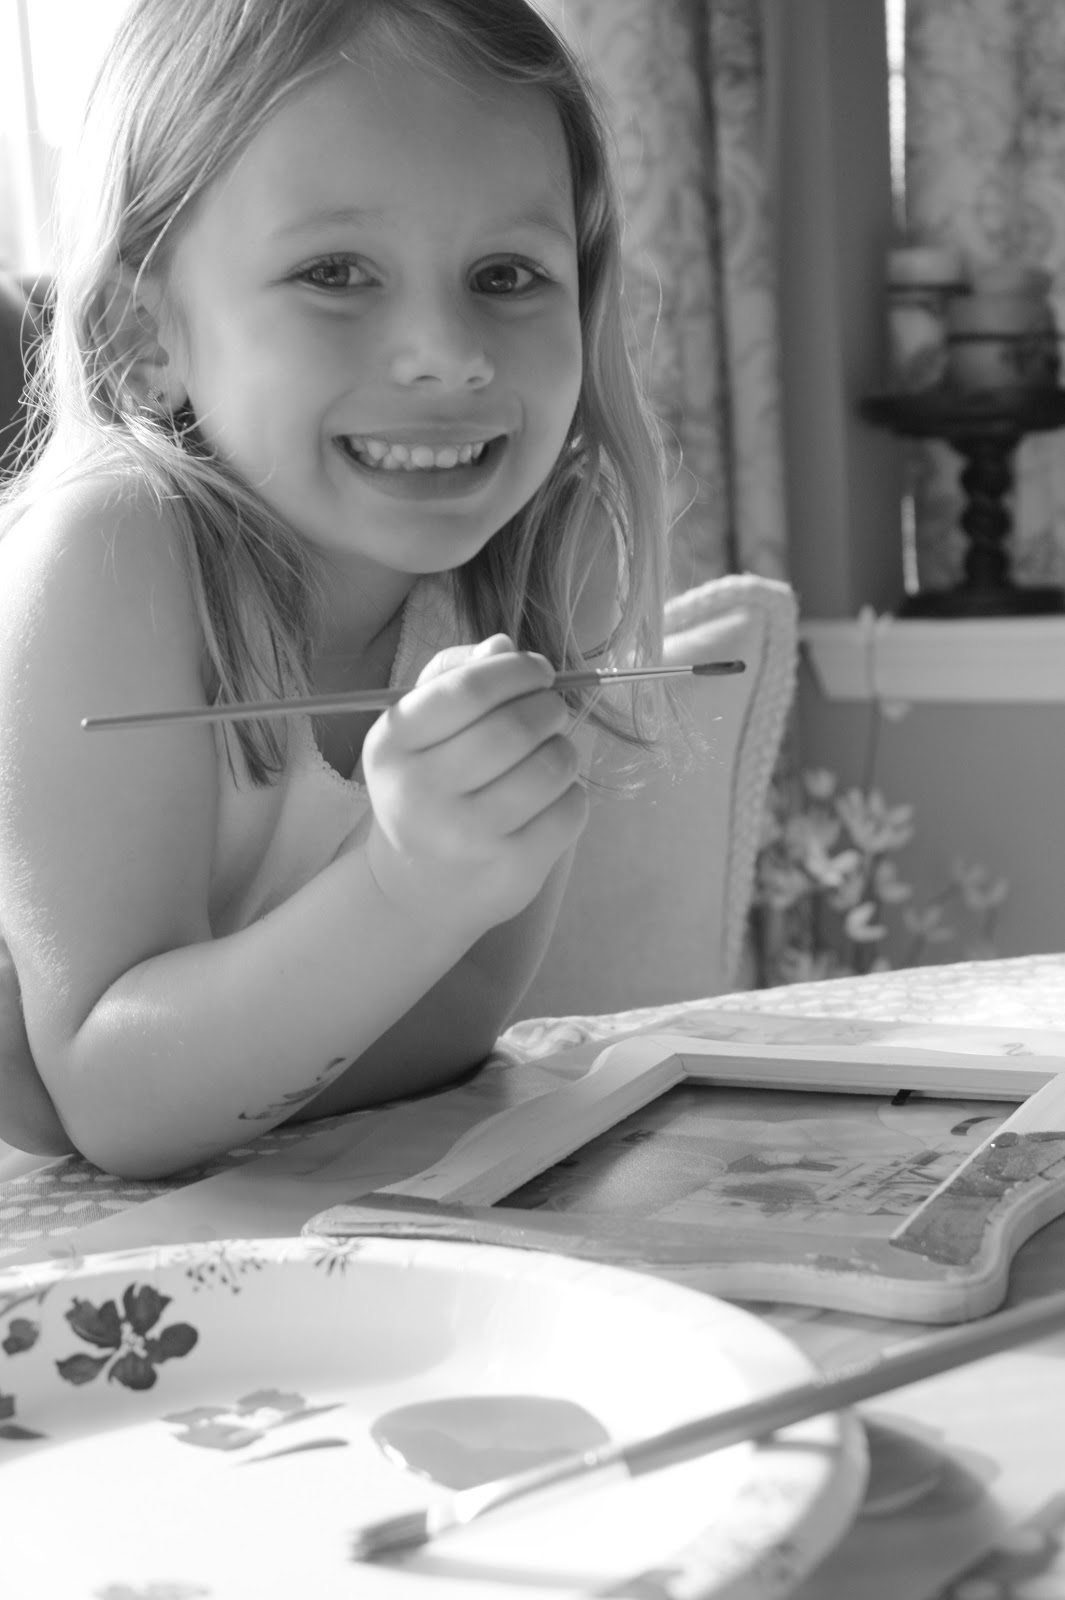
Here is Anna's finished chalkboard. She LOVES to paint and decorate just like her aunt!

Alright back to my wicked transformation. So far I've painted the chalkboard and the picture frame, attached the witch's cape and glued the headband on the back. Here is what the headband looks like from the front....

The next step was to cover the unfinished edge of the black fabric with my orange polka dot ribbon. I hot glued it... OF COURSE!

I added some velcro to make it easy to take the chalkboard on and off the basket. This way I can take it off every time I want to draw something new on it.


Here is my finished product! I heart it so much.


I can't wait to write a bunch of different Halloween sayings on my teeny tiny chalkboard.
I have already thought of a few cute ones....
"pick Witch ever one you want"
"I Witch you a Happy Halloween"
"Free Broom Rides"
"I can't stop falling in love Witch you"
"Witches brew is good for you"


I promise I will post some pics of it all filled with my witch's brew when we get closer to Halloween. I hope I have inspired you to repurpose something in your house that will make you smile just as much as I am over here. Anyone else doing any DIY projects for Hallo-scream? If so let's hear what you've come up with....

Love the idea of using a picture frame and chalkboard paint to make small signs! Totally using this idea in the boys' bedrooms
ReplyDeleteThis adorable basket puts my candy dish to shame. I am not a crafy person by any stretch, but you make this look easy to do! I will have to dust off my glue gun and give it a try! Thanks for another really cute idea!
ReplyDeletelove!!!!
ReplyDeleteThis is adorable! So creative, thanks for motivating me to do something crafty!
ReplyDelete