Friday, February 8, 2013

Bathroom Update: Switchin Out a Shower Curtain

Hey guys! I wanted to pop in and share some minor changes I made to one of the two bathrooms on the 2nd floor of my condo.  This bathroom is used by me and ONLY me. Bill uses the 2nd bedroom's bath and closet so I have this all to myself and it's wonderful! 

So, I've been trying to keep things neutral (color wise) for a while now and I am soooooo bored but I DO plan on selling soon so I really don't want to stray from my neutrals.  I was, however, getting so sick of this shower curtain below so I needed to switch it out for a fresher look.

Sorry this is the only pic I have of my bath before I changed things. 


 Lately I have been so smitten by the idea of using actual window curtain panels as a shower curtain.  I hit up Homegoods on Friday night with one of my BFFs and that's when I came across two curtain panels for 30 bucks and they were the perfect style I was looking for.  They were fresh, clean, and just the right height.  I bought them immediately and then had some after thoughts. The curtains are grommet tops so I wasn't sure how to hang the liner on the same rod. Then I remembered I had a left over tension rod but then I wondered if that would look okay hanging two rods in one shower? Hmmmmmm.... I was starting to get bummed that this might not work. As soon as I got home I hauled ass right upstairs and started tackling this fun project.  This is where I forgot to take a good "before" pic of the entire bathroom...grrrrrr! Oh well...

So after a few new screw holes and the addition of a tension rod my shower was transformed.  Yay....it all worked out in the end.  Before I bought the curtains, I did make sure they were at least 80"H because I wanted to bring the height of the curtain rod up another 8" to really bring your eye up and make the space look bigger.  It is super small. 

 I really enjoy showering in there now because I don't even bother closing the curtain panels so I get tons of light.  I am assuming Bill likes it too because I'll hear a little whistle every now and then when he walks by....lol 

So let's check out this $30 makeover...

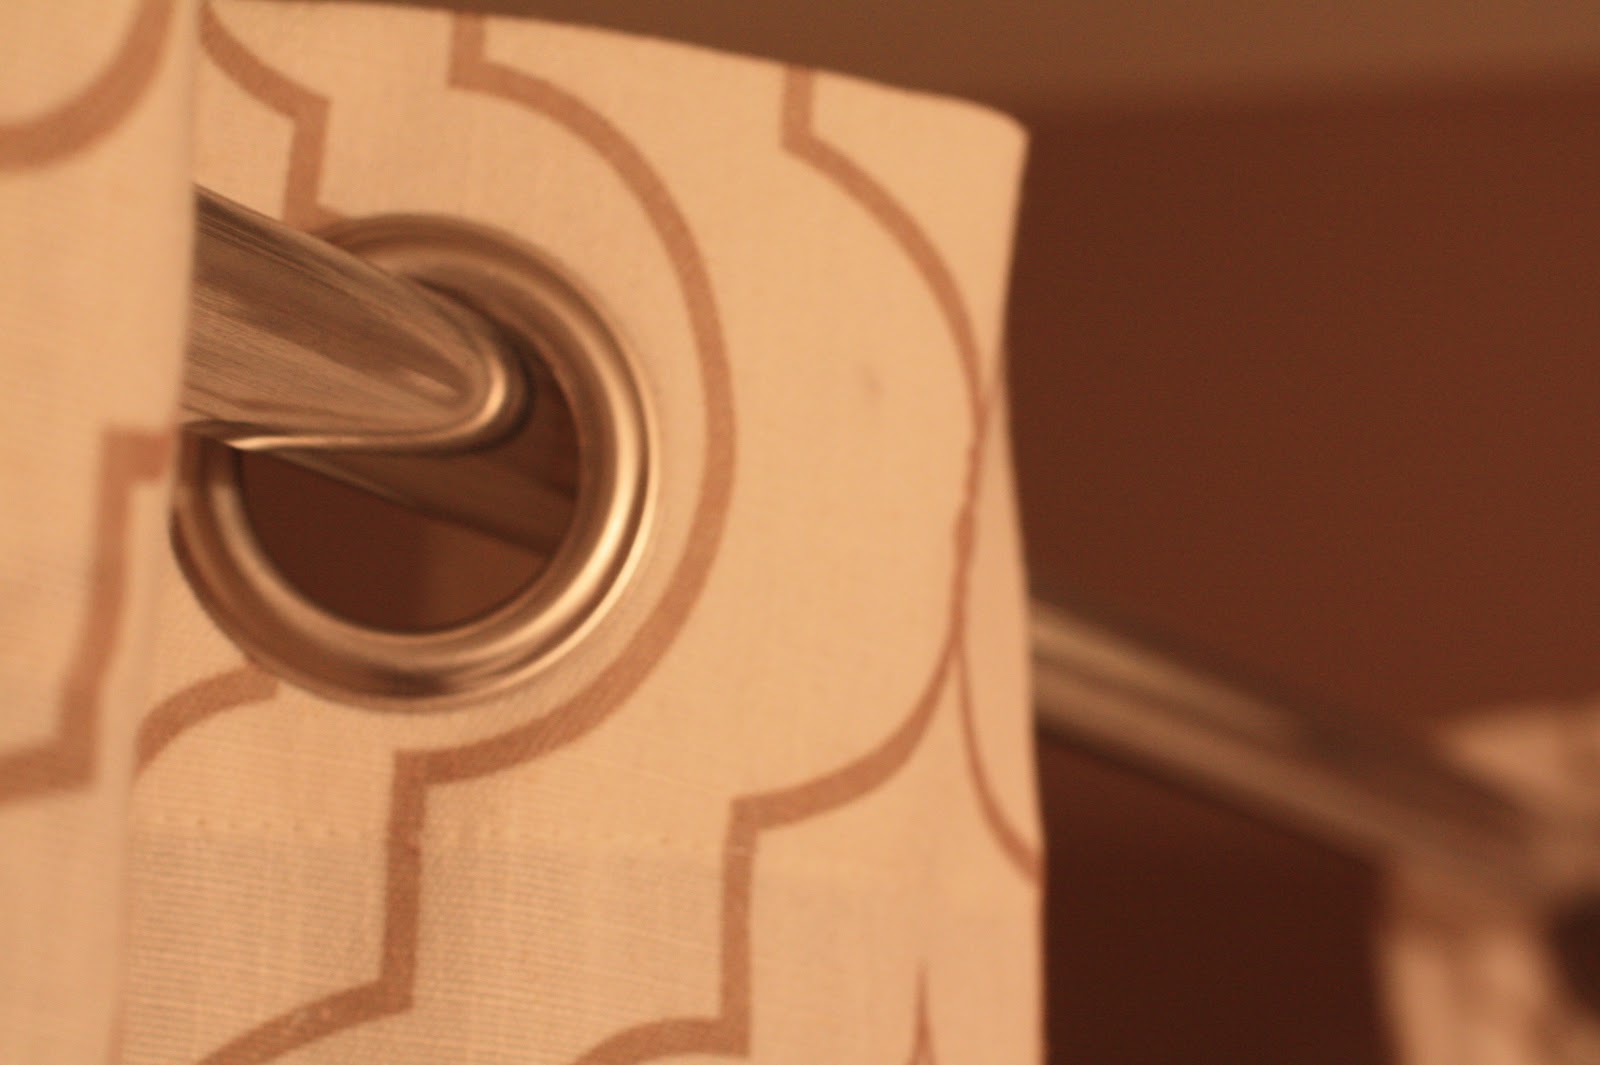
Isn't the pattern gorgeous?  I love that Moroccan print, it reminds me of the wall I stenciled


Here is a shot from inside the shower.  You can see how I added the tension rod to hold my curtain liner.   


I was really worried in the beginning about seeing two rods but now you can't even see the tension rod from eye level when you walk into the bathroom. {Yes there are two rods in that picture below, you just can't see the 2nd one} I am also digging how these panels are hiding my shower head.  I hate seeing those things peeking their ugly heads out. "Aint nobody got time for that".... hahaha friggin love that youtube video. 


I brought up the shower rod about 8 inches in order to give the curtain panels enough room to just barely graze the floor.  I didn't want them puddling on the floor because if the floor gets wet I don't want them getting ruined.  Here is a look at the old screw holes and you can see how far I came up with the new placement...


The grommet top panels make it so easy to slide back and forth and they also do a great job hiding the tension rod.


If you are wondering what that artwork is hanging on the wall, scroll down to find out!


This is a piece of art that is SO incredibly meaningful to me.  My aunt Chris and her sister got together and decided to make this for Bill and I.  It is the poem that my cousin Erin read at Micah's funeral {to read about Micah's Story click here}.  My aunt's sister is an amazing artist, she illustrated this entire piece. She even added a beautiful ribbon with "we heart Micah" written on it {which was the name of Micah's blog}. They also decided to put Micah's birth flower in there and we all know I am loving pinks right now so this was absolutely PERFECT.  You are probably saying "why above the toilet?" Well, I didn't want to put this in a common area in our house because I didn't want people getting upset reading it so I kept it ALL to myself in my own lady cave =)


This was the perfect finishing touch to this inexpensive bathroom makeover. 

Remember there are NO RULES when it comes to design. Who says you can't take a window panel and throw it in your bathroom as a shower curtain?  Any of you doing anything unexpected in your spaces? 

Have a great weekend!  I will be patiently awaiting Winter Storm Nemo.... 
just keep snowing, just keep snowing! 


Saturday, February 2, 2013

HOLY WORDMARK!!!

As a blogger, I have found that one of my favorite things to do while blogging is searching for adorable fonts to use in my posts.  I am all about changing things up ALL the time.  I HEART change and cute fonts, but Holy Hell, it is an addiction.  Seriously, I might have to start every post with "Hi my name is Michelle and I am a font addict!" Although this is so much fun, the only thing that I hate about downloading new fonts is when I can't remember the names of them. For example: Let's just say I am 95% done a blog entry and I am ready to post it but I just want to give it a little spice by changing out the fonts.  The only problem is I can't friggin remember the names of the fonts that I had pictured using in my head.  I literally will not post that blog for 3 days until I have it EXACTLY how I want it.  It is so frustrating searching and clicking on every single font to see if it's what I am looking for.

SCREW  THAT!


Thanks to wordmark.it I don't have to deal with this nonsense any longer!  I could seriously kiss the person who created this website...Genius!!!!  It is a site where you can enter the word you would like to use or a word you want to see in a specific font.  The site will upload every single font you have saved on your computer and display how the word will look.

 IT... IS...  AHHH... MAZZZZ... ING!!!!! Here are a couple screen shots of what I am talking about....


This makes it so stinkin easy to find any look I had been searching for.  I demand you click on this link and try it out the next time you are typing up a cute label, letter, thank you card, etc. You will immediately be schmoozed by this site. 


HOLY Wordmark you have made my blog life so much easier! 


Friday, February 1, 2013

Fabric for Built-ins

Alright kids, we are about to cross the finish line for these fine looking built-ins!  We took it up a notch by adding some fabric to the backs of the shelves. It gives the shelves great dimension and the best part is .....drum roll please.....it's NOT PERMANENT!

Heck yea! 

That means we can change out the fabric every couple of weeks, months, or every holiday/season. {my sister doesn't know this yet but I am already planning to change it out in 2 months when spring arrives....shhhhh don't tell her}

Here are a few more pics of this yummy eye candy....


ALLLLLLLRIGHTY THEN {what movie?}......
So here is the play by play of how we installed the fabric: 

1. Shopping trip to Joann Fabrics- purchased this foam board along with 7 1/2 yards of that gorgeous fabric we picked out, totaling 70 buckaroos. {1.99 for each board and I got the fabric half off and I was able to use my teacher's discount of 25% at the time. It's usually 15% off but it was a holiday weekend so I got an extra 10% off = SCORE!} 


 2. Tools Needed:  a good pair of scissors, a straight edge, sharp blade for cutting the foam board, measuring tape, some clear packing tape, and an extra set of hands is always helpful. {Thanks to my bro in law for helping- he's a keeper!}   


He shall remain faceless....lol


3. Next step was to measure the backs of each shelf and cut the boards accordingly. That's what Tom was doing in that pic above.  As soon as he would finish cutting he would bring the boards in and hand them off to me.  

4. I would then wrap each board with a piece of fabric that I had cut to size. It was super simple after that, I just wrapped each board like a present and then secured the fabric to the board with clear packing tape.   


5. After a board was prepped and ready we would take the shelves out and begin sliding the fabric wrapped boards into place. Like so....


We did not use anything to hold them in place other than the shelves. Measuring was key in order to make that work.  If we cut them too short then they would have wobbled around in the back. 


When we measured we made sure to take into account a tiny space for the shelf to slide into so that the boards didn't overlap and make the shelf jut out.  


Our cuts were so good that the boards would wedge in perfectly to the point where the shelves weren't even needed to hold them in place.  Here is a pic of three boards wedged into their positions without any type of adhering to the back wall.  They are cleanly tucked into their little nooks which makes me so happy! I also didn't worry too much about matching the pattern vertically because the accessories would most likely block the view of the patterns butting up against each other. I DID make sure the pattern was level, horizontally!

Pretty Cool Eh?


Here is a glimpse of 2 completed areas. I was jumping up and down at this point because I just couldn't freakin wait to see it all finished.  


I had a little helper along the way.  My niece, Anna helped me wrap each board.  She loved using the packing tape.  


See how the flow of the pattern doesn't really get affected once the shelves are in place?


Here it is all accessorized with a lot of the same accents from the previous post.  We plan on buying some new accessories and different frames down the road, so this is not exactly how we want to
 keep it.  


Before I leave you guys, let's do a little reminiscing....

First we HATED and almost barfed staring at that awful brown molding....


Next we dreamed....


Then we hired a friend to make it happen and it began....


AFTER....


All Dolled Up....


Remember the pass through/power outlet for all of the cords from this post??? 


Can you find it? It's hidden so well....


Don did an amazing job replicating our inspiration photo. I actually like our built-ins better than this online photo that we dreamed about. 


Well.... I am dying to know what you all think?  Do you love it? Is it too much? I am thinking the red might be a tad too much that's why I said we aren't completely smitten with all of the accessories just yet.  I can't wait to hear what you all have to say. Don't hold back....


Related Posts Plugin for WordPress, Blogger...