Tuesday, March 26, 2013

Photo Wall Change Up

I am officially tired of this photo wall in my condo and I cannot wait to change it out. 

  
 In my world, I grow tired A LOT faster of my home decor than the normal homeowner! Ask Bill...he will tell you about the 50 million different ways this room has been dressed. In the past 3 years I've gone through about 4 different curtain panels, a bagillion {yes I made that word up}accent pillows and covers, 3 different lamps, 3 different sofas and side chairs, and tons of different wall art.  Anyone could tell you that this photo wall is my favorite design element to date because it is the only thing that hasn't been changed in a year...lol! This picture was taken a year ago so there are a bunch of things in this pic that are different now.  {ex: new leather round coffee table, new wall art for above the TV and the TV stand accessories are changed monthly

I am still LOVING my desk behind the sectional, that falls a close second to the photo wall. 


The hunt for something new had begun.  I searched online for inspiration and I just couldn't find anything that I loved.  I knew I wanted a change, so that meant no more pictures and I'm not a huge "art" fan so I knew that probably wouldn't be an option for me either.  The only other thing left were objects.    What the heck kind of objects would look good above this long sectional???  I gave up after 2 weeks of looking.  I ended up giving in after finding this inspiration photo.


But after buying 9 frames and laying them out on my living room floor, I still wasn't in love with the idea. 


 Sooooo... I did what I do best and I returned them all and just decided to not do anything for a while until I saw something I REALLY wanted.  A week or two later I was returning pillows at Homegoods for a client and I came across the most adorable baskets.  They were heart shaped and being sold in all different sizes....FREAKIN PERFECT!  I immediately laid them out on the floor in Homegoods and started arranging them in all different ways. They were so versatile and just FUN, I had to get them.  So I snatched up 2 mediums, 2 smalls, and 1 large shaped basket.  They seriously couldn't be more perfect. If you didn't know hearts are kind of my "thing" ever since my daughter passed this summer.  I blogged while she was in the hospital and we called the blog "WE HEART MICAH," so ever since, hearts ALWAYS remind me of Micah.  This is theeeeee  MOST perfect touch of Micah in our living room.  


 A little before and after action.... 


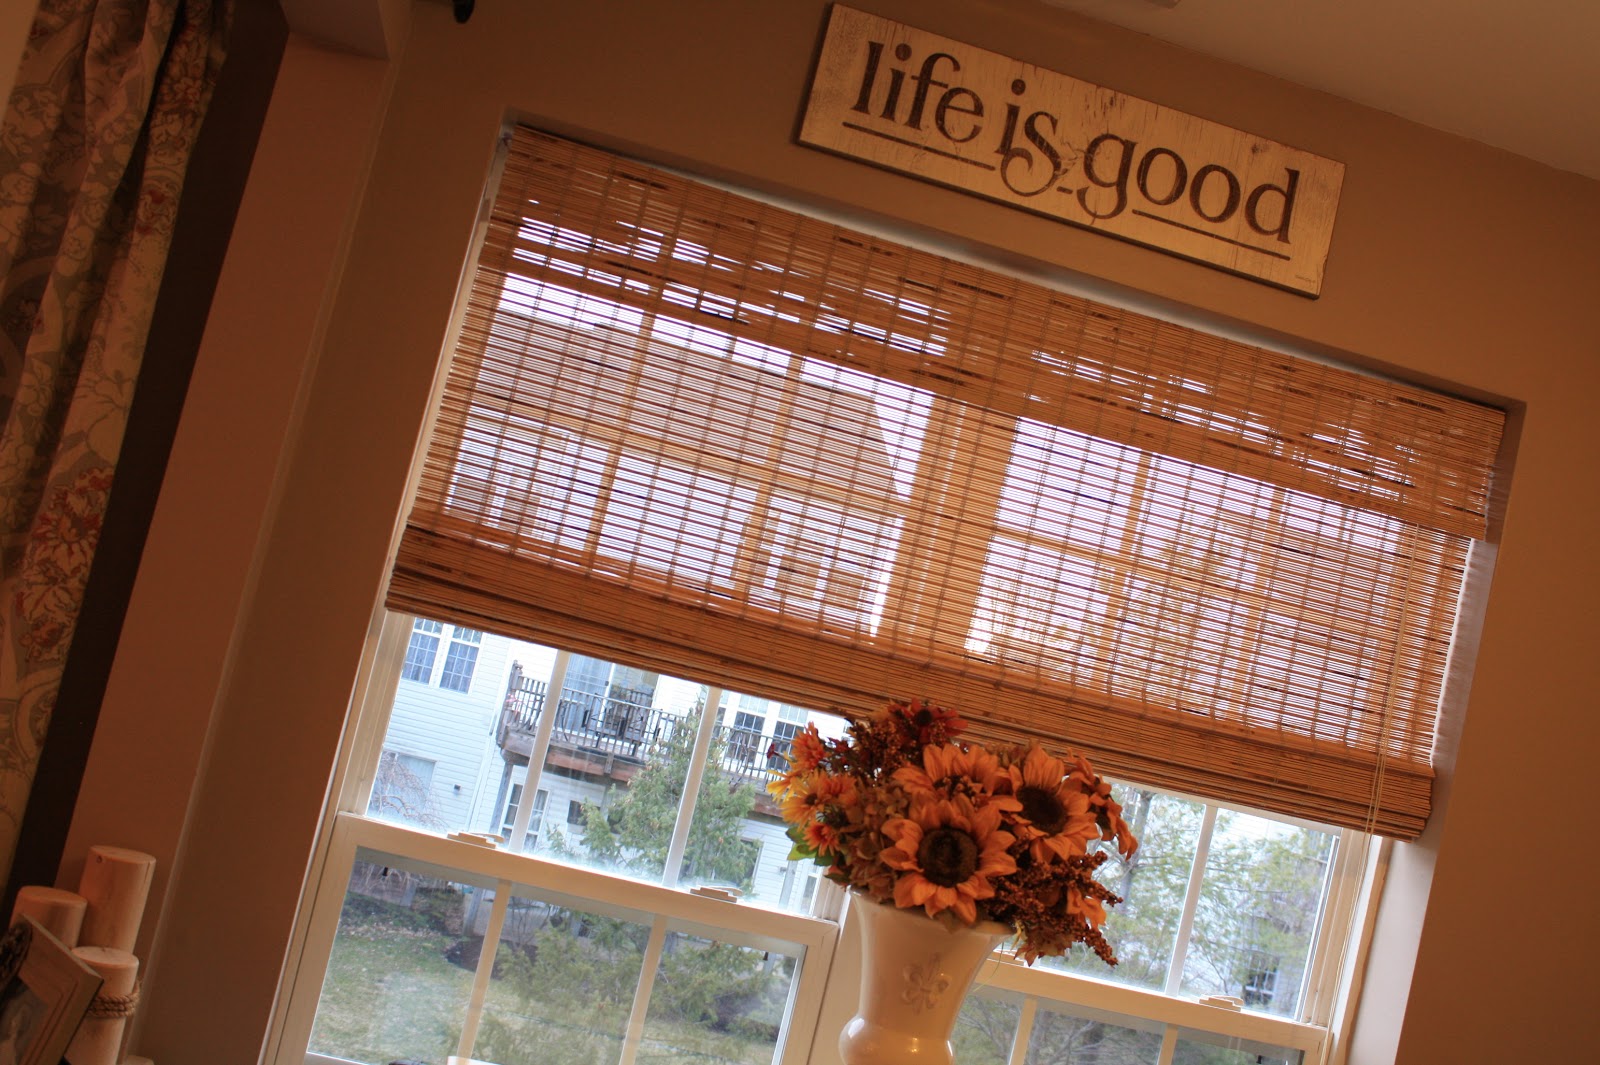
I ended up taking most of the frames from my old photo wall over to my sister's house and I plan on using them for a new photo wall in her upstairs foyer.  I kept the "life is good" piece and put in my kitchen.  I love how it adds a little somethin somethin above my windows....


Back to my adorable hearts.... 


Well... what do you think?  Do you "heart" my new wall?  No offense but I don't care what you think because this wall is so special to me and that's all that matters...just kidding...no I'm not =) 


Friday, March 8, 2013

The Boys' Room on a Budget

A while back I blogged about Annie Sloan Chalk Paint when I refinished a dresser for my nephew's big boy room.  He is now a big brother again to a little adorable baby boy named Vinny.  {They will eventually share this room, hence the bunk beds

The pic below shows what Tommy's bedroom looked like prior to Vinny's arrival and prior to me getting my hands on it = pretty uninviting and VACANT!  Tommy had been sleeping in the same room as his two sisters because he was transitioning from a big move into a new house and he was "scaaaaaeeeeerd"{I can't figure out how to spell "scared" the way he says it} to sleep by himself in this new room in this new house. 

The space did not need a lot of work it just needed a little attention. We wanted to make it fun and ALL BOY so that Tommy would WANT to be in there 24-7.  The more time he spends in there the less "scaaaaeeeeerd" he will be. 

  The room had great bones but it just needed some cosmetic help.  The paint color was fine considering we wanted to do a camoflauge themed room and it was the perfect sand/desert color = Score! {no painting for this chick} There were some things that just had to go... lighting, curtains, etc. 
 Check 'em out below....


{side note: carpet color is really great for a boys room}


The awful curtains from the previous homeowners went into the trash immediately! 
{chocolate brown sheers...ewwwaaaaa}


The changes we had planned on making were:

1. refinish my brother's childhood dresser 
2. buy simple camo print bedding
2. Buy roman shades to pair with the existing blackout roller blind
3. buy a table lamp
4. buy some picture frames 
and....
THAT WAS ALL!  

Simple, Clean, and Inexpensive is what we ended up with! 


Here is a quick recap of the purchases I made and the projects I did in order to keep this room makeover under 250 buckaroos:

Project #1: DIY Star Shades

*2 tie up shades = 15.99 {sale price}
*Heat n bond/hem tape = free {leftover from another project}
* 1 brown curtain panel = 7.99 {sale price}
*Star = free {I returned it after I used it as a stencil} cheap smart girl
TOTAL = 23.98


Still so in love with this project....


*AS ChalkPaint "Chateau Grey" = 35.00 {I still have 3/4 of the quart left}
*Martha Stewart hardware = 17.99
*Scrapbook paper and adhesive = $7.00
TOTAL = 59.99


Accessories:

1. Lamp from Target = 14.99
2. "Stuff" basket = 4.99 {sale}
3. Bedding from Target = 110.00
4. Rustic frame from Homegoods = 7.99
5. Navy pillows = free {leftover from playroom}
TOTAL = 137.97


GRANDE TOTAL = $221. 94

I love transforming a room and then seeing how I made out with my budget.  I now have an extra 29 bucks to spend in another area of my sister's new home. Cha Ching!!! 
{"Only got 20 dollars in my pocket, I'm I'm I'm hunting, looking for a come up, this is FREAKIN AWESOME!" Yea "Thrift Shop" Love that song =)

Anywho, maybe I will use that money to finally accessorize her upstairs foyer that I painted a couple months ago. I love when I forget about projects that I said I would do.  SORRY SIS!

Here are a couple more shots of this adorable room...


Annie Sloan's chalk paint has held up REALLY well.  I am shocked at how hard the finish is on it.  The waxing step really took it to the next level in order to protect it against any future wear and tear from two little rambunctious boys. The hardware couldn't be more perfect.  Tommy loves explaining things very slowly and detailed.  He was showing me {as if I had never seen them or installed them myself} how easy it was to open and close his drawers without any banging hardware.  He said "See Shush, no noise! I can open my drawers without anyone hearing!" Too funny... 


Tommy wouldn't stop moving for these pics but what do you expect from a high energy, nonstop talker, like himself?!?  He was probably shooting a monster with those maracas he was playing with. 


He loves playing hide and seek and if you find him on the first try he demands that you cheated somehow, as if he is the best hider on the planet...LOL!  I LOVE HIM and I hope he loves his new room as much as I do. 


Wednesday, March 6, 2013

Coffee Table Gets a New Life- Part 1

A friend of mine asked me to take on a little project for her.  She has this beat up old coffee table with 4 matching stools that slide under each corner of the table. This table has A LOT of meaning to her and she knew she couldn't get rid of it so we decided to give this piece a NEW LIFE!  She trusted me to take on this project...GULP!  j/k I'm a pro =)  So the plan was to stain the entire table a dark walnut color {more like an espresso/cherry look}.  The only problem was we had some trouble getting it DARK! The wood was so porous that it was just soaking up the stain and not stacking the way a normal piece of wood furniture would.   Here are some shots of the stools before hand. 

Yes, I plan on reupholstering them as well.  These stools have seen WAY better days. 


Here is the color I picked. I thought for sure it would completely darken the stools but after 2 coats it wasn't doing anything.


Comparison shot: obviously the leg is sanded down pretty well and the side piece has two coats of stain but it looks exactly the same color as the stool's original shade. So frustrating! 


Another shot after 2 coats of staining....


In the picture below the stool on the left has 2 coats of stain and the one on the left hasn't even been touched yet and they look almost exactly the same. NO GOOD! 


That's when I had to re-route our entire vision. I searched for inspiration shots and so did Heather.  She sent me this table and we both agreed it was the perfect color black.


Time to bring on more sanding, two coats of primer and two coats of a gorgeous black paint color called Black Suede by behr.


One coat down....


Sanded and then primed another coat {I waited 2 hours in between EVERY coat}....


Lightly sanded again and then I was FINALLY able to see some progress on these stools by adding my first coat of black...Hallelujah!


I was so excited after the black went on that I immediately pulled out every fabric I had in my house and started to play....


I really wish these were my stools so I could change out the fabric every couple of years.  All of these fun prints are gorgeous against the newly painted legs. Aren't you LOVING the black now?!?! 


Here are the stools back in my friend's living room. My next project is to paint the table black and reupholster the stools with some new fabric.  We are in search of a durable leather fabric in a solid creamy tan color, which will really break up all of the monotonous black in the middle of the room. My friend has two kids and she wants to get a good LONG life out of these guys, so that's why we are going with a durable leather material.    

{side note: How awesome is her new area rug? The black table will look so striking against the rug.}


I'll be back once the table is painted and the stools have been reupholstered.  I might even share this living room reveal if my friend gives me the "okay!" 


Related Posts Plugin for WordPress, Blogger...